How to review your images without confusion or accidental deletions
The first INDISPENSABLE step if we want to obtain a high-quality image is to open the image inspector called Blink, the tool that allows us to review our images automatically or manually, as we wish, to discard and/or move to another folder the worst images, or simply the wrong ones or those we want to separate from the rest for whatever reason.
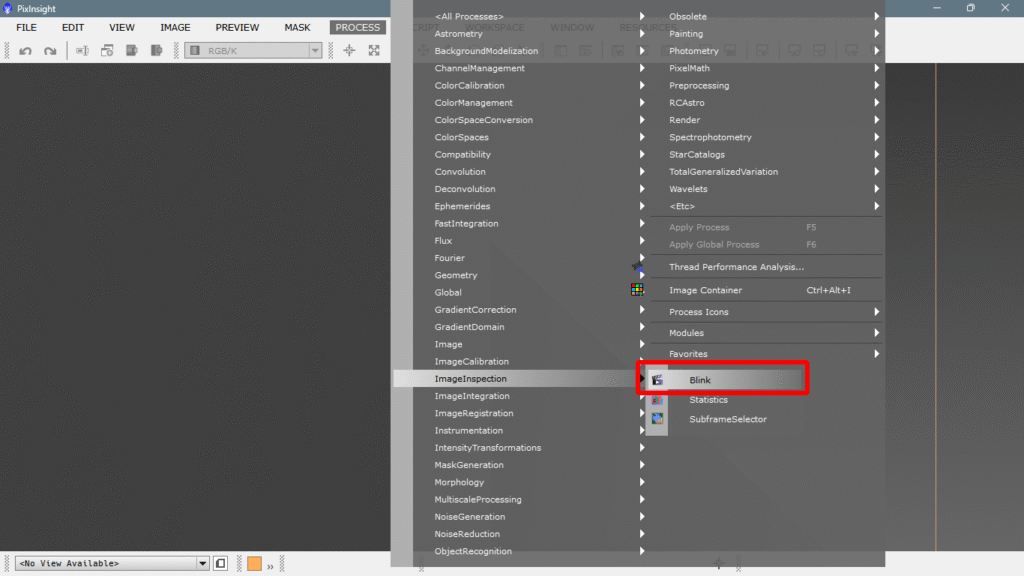
You’ll find it in PROCESS > ImageInspection > Blink
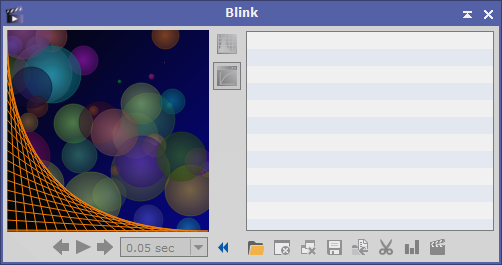
We’ll describe one by one the different buttons and options that Blink’s interface offers, but first we need to load a set of images so all the options become active. To do this, we click on the only active option, the yellow folder Add image files

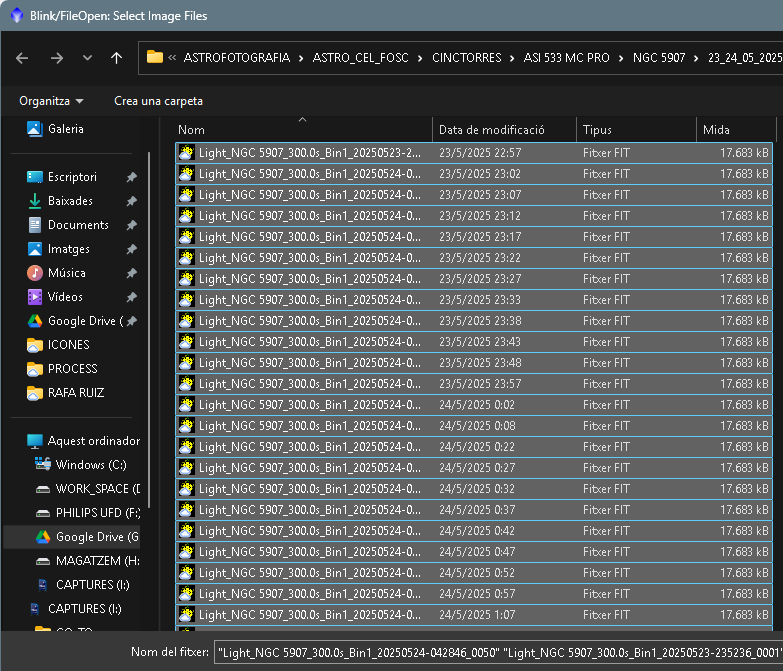
This opens your hard drive browser. With a simple ctrl+A we select them all. It’ll take a bit, since they’re many megabytes in size.

Once all photos are loaded, it’s a good idea to enlarge the console window as much as possible for convenience.
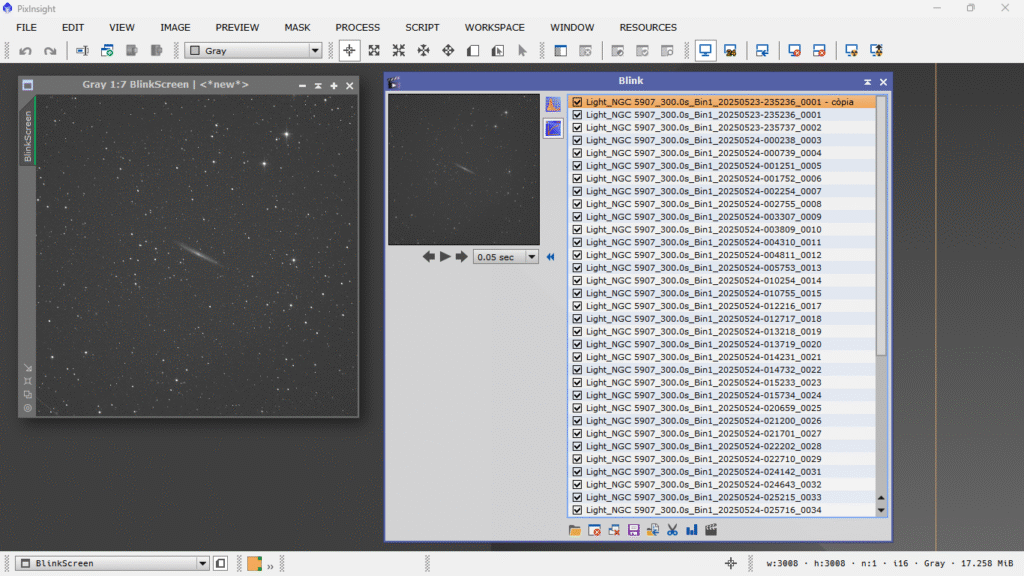
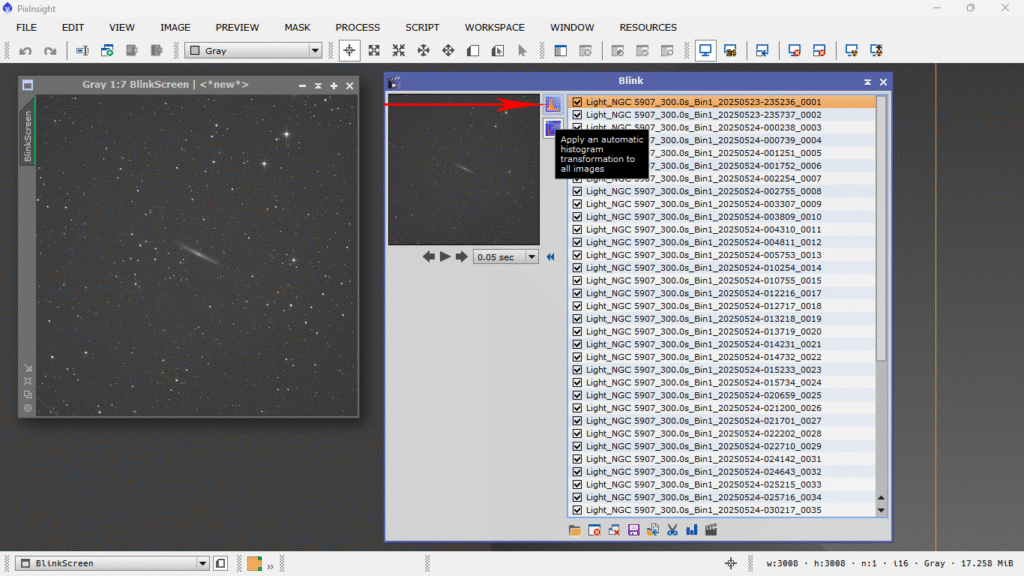
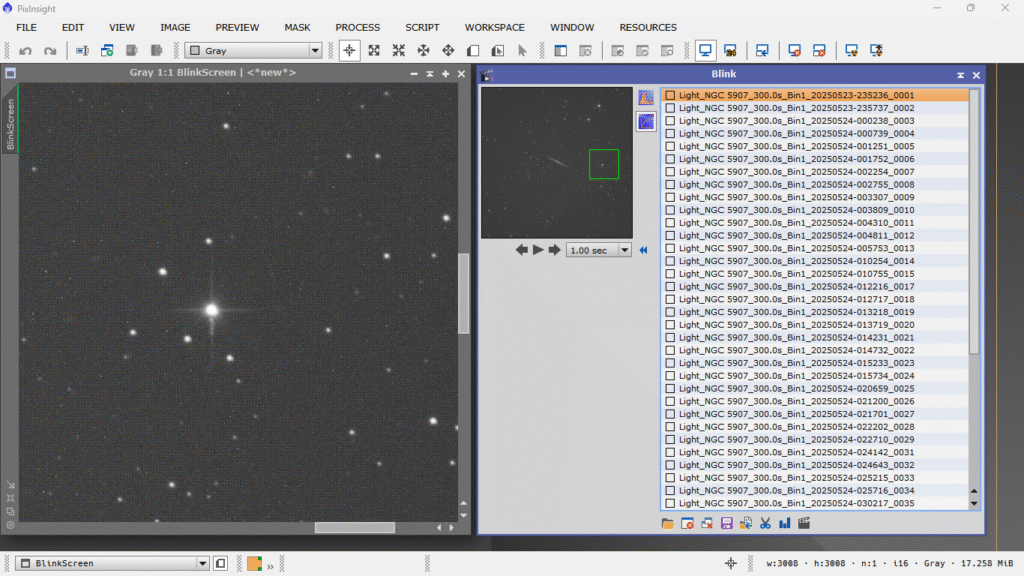
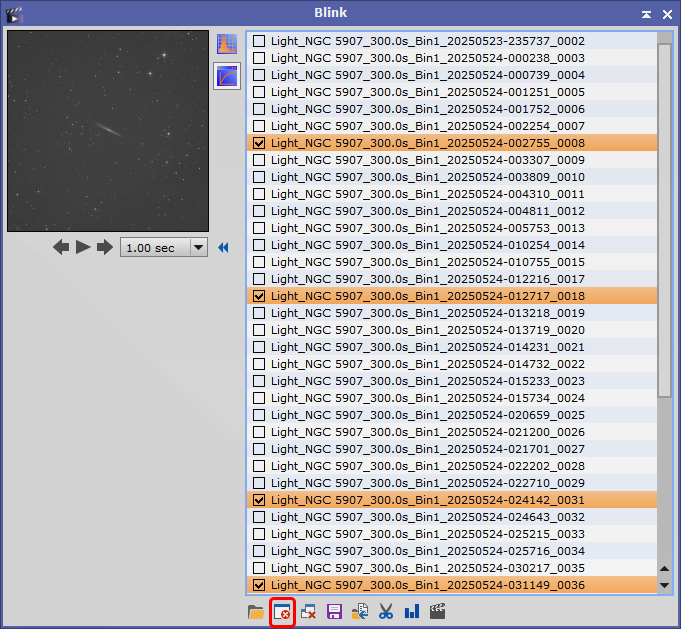
Now on the left we have a true view of the raw file, unprocessed and not debayered, which matches the filename we see selected on the right. This is very important: marked IS NOT THE SAME as selected, because for processes to act on an image, it must be MARKED (checked), not just highlighted in orange.
The first thing we need to do is apply a histogram transformation to all the images so we can view them with the same intensity. Images taken at low altitude will look brighter due to light pollution or atmospheric extinction, so it’s best to see them all equally balanced. To do this, we click the histogram icon.
It’ll take a bit, since there are many images.

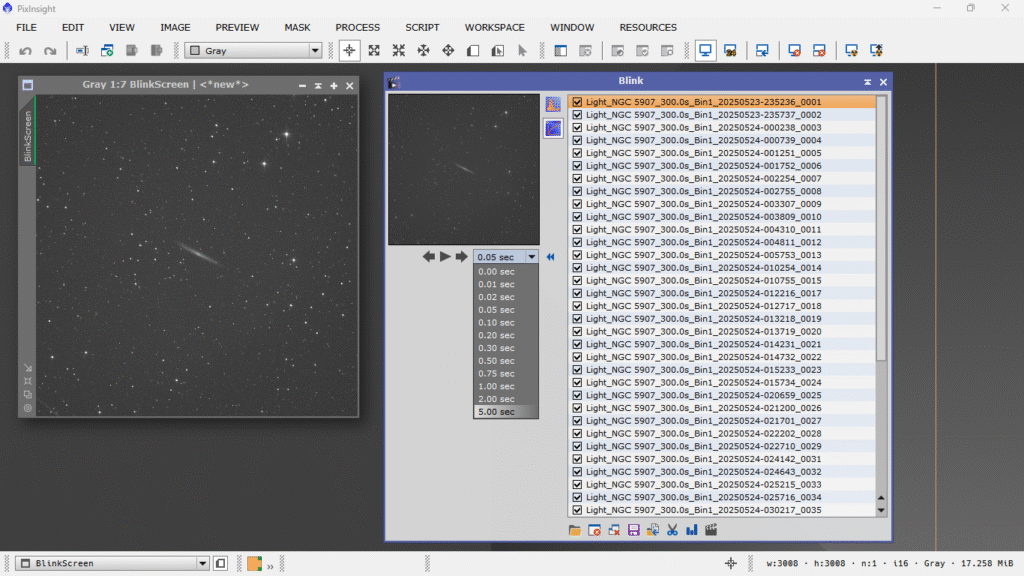
Once intensity is equalized, we configure the delay time we want between images so we can review them comfortably. Open the dropdown and choose the time you like best — 1 second should be enough.
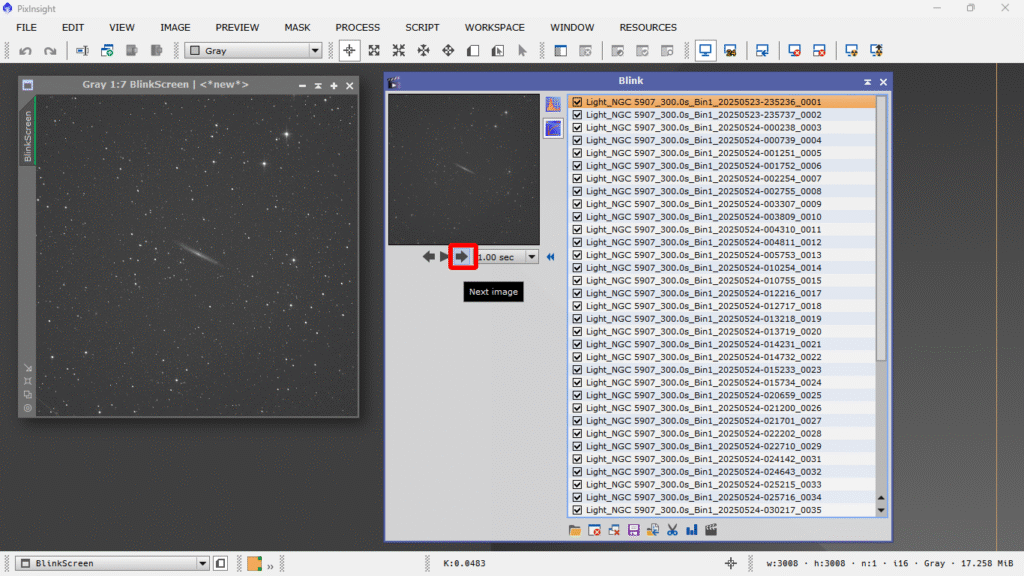
Clicking the “PLAY” button will start the sequence, with a 1-second delay between images, just as we set it:
Many people use it this way. Personally, I prefer to go through them one by one using the right arrow — the “next image” button — manually and calmly. What I usually do is first run the entire sequence automatically with the 1-second delay to see if any clouds passed through, then I go through it again manually to check for frames with tracking drift or mount jumps, which often show up as double or even triple star trails — and I do this with zoom.
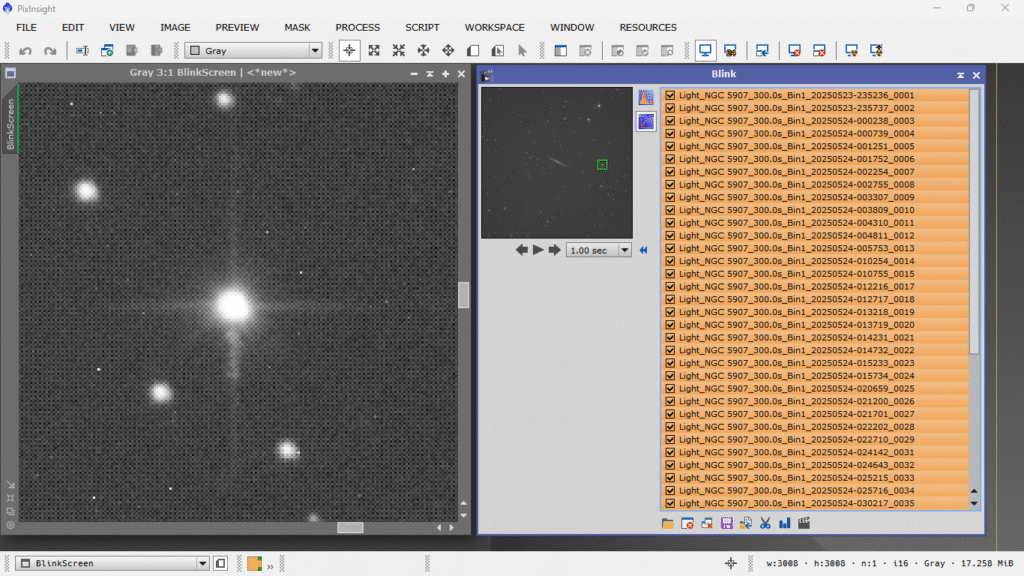
Yes, we can zoom into the image simply by selecting it and rolling the mouse wheel over the reference area we want to inspect. I normally choose a region with clearly visible, large stars. To zoom, position the cursor cross over the desired point — the selected area will be marked with a green square in the tool’s console, like this:
At this point, I personally — unlike most people — unmark all files, since I want to go through the images one by one and mark the bad ones, and to mark them, they must be unmarked first. To do this, first select them all by clicking the first image, then hitting Ctrl+A.
Once that’s done, unmark all by simply pressing the Tab key.
Now comes my little “trick”: using the keyboard arrows, I start going through the images from top to bottom using the down arrow key, like this:
I mark the ones I don’t want, and now I can do several things with them:
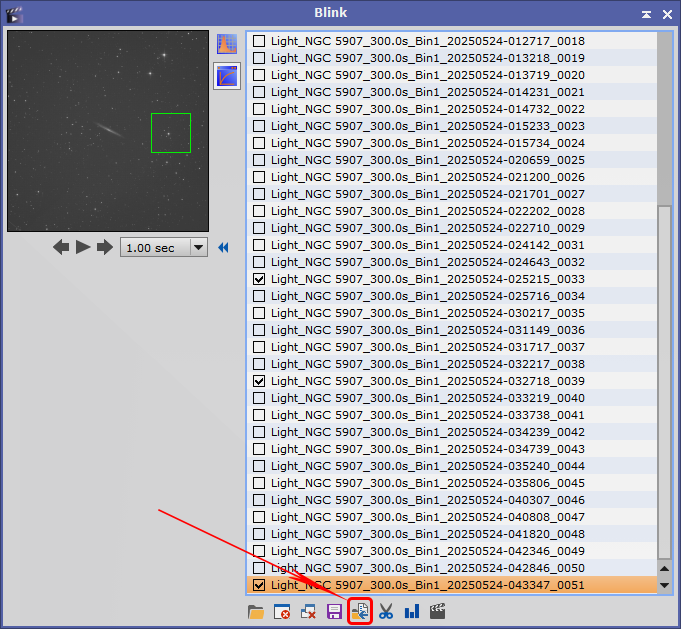
A – I can move them to a folder with a different name — any name I choose — and at the same time remove them from the group using Move selected files to new location, keeping only the good photos in the list.
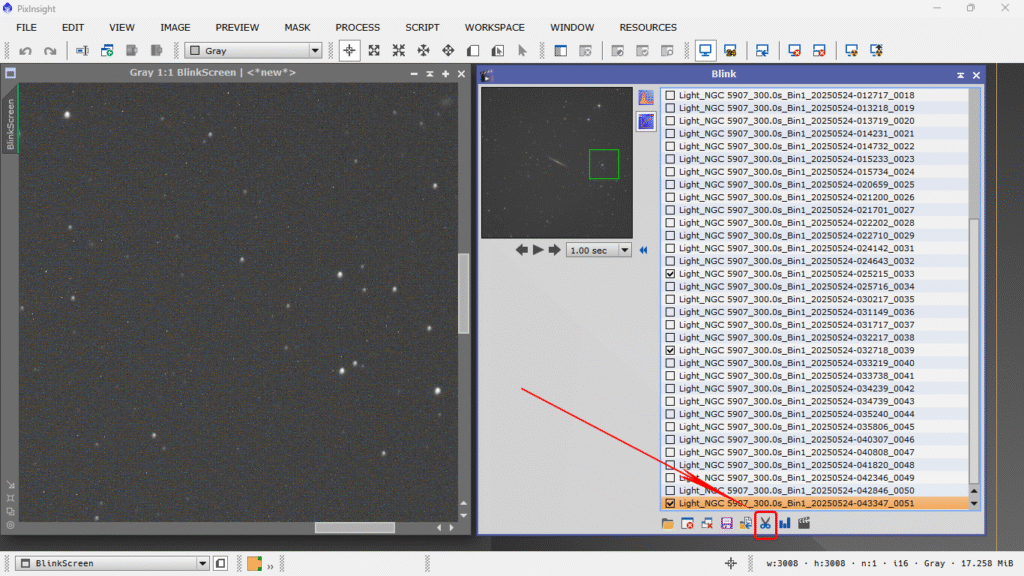
B – I can crop the selected photos to the area defined by the green rectangle, create a group of previews, and rename them so they’re not confused with the full images — which, by the way, would never be lost unless we delete them directly. The selected previews can also be sent to a new folder.
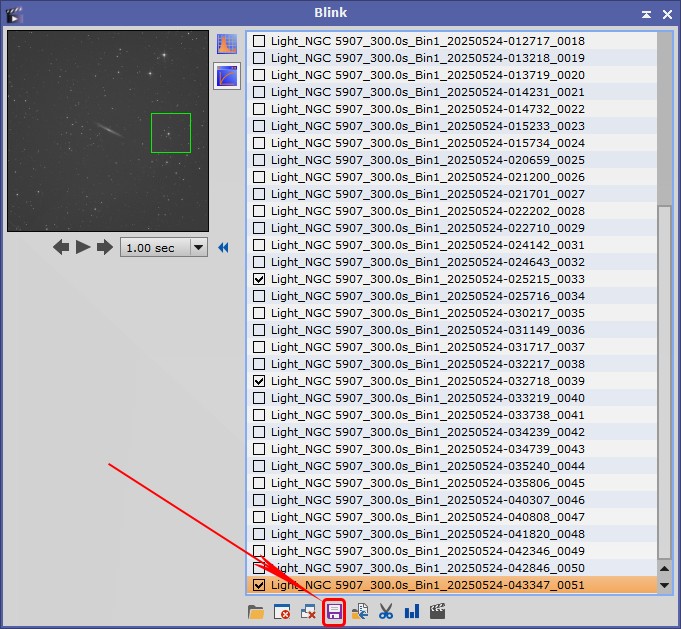
C – I can copy them to a new folder without necessarily removing them from the group — a basic “Save As”.
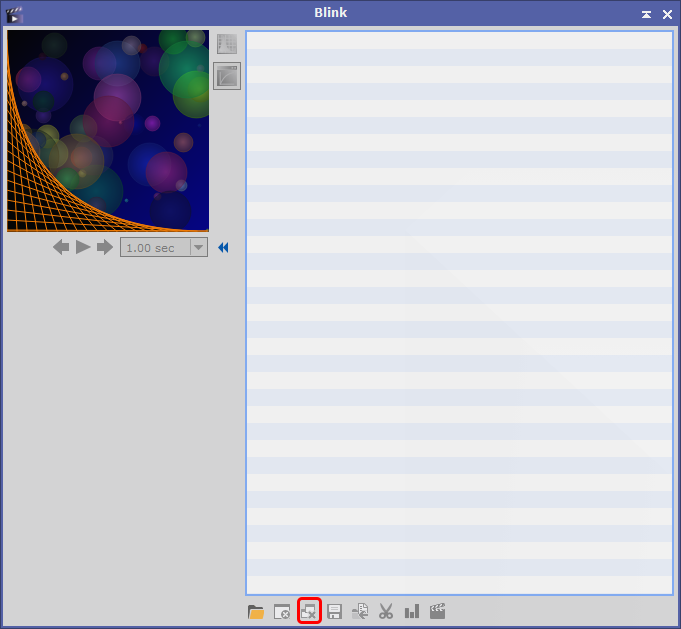
D – I can close the selected images using Close selected images
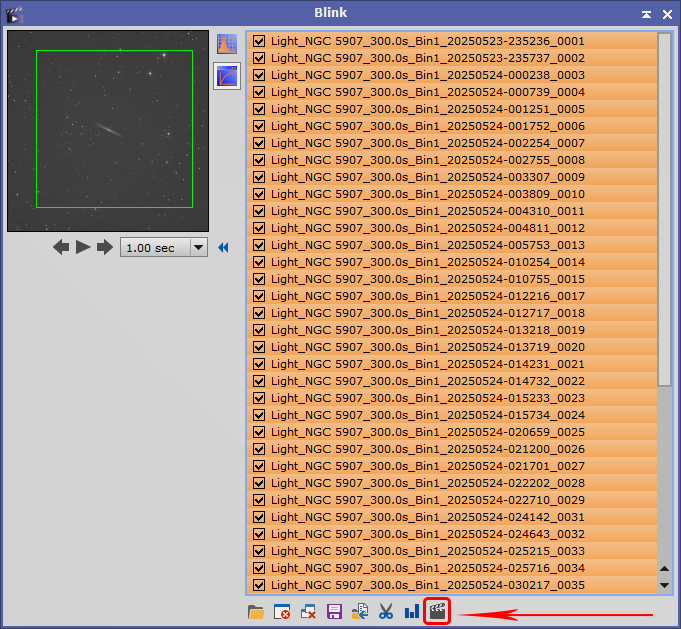
E – I can create a video or timelapse to view or share using the Crop and create video tool.
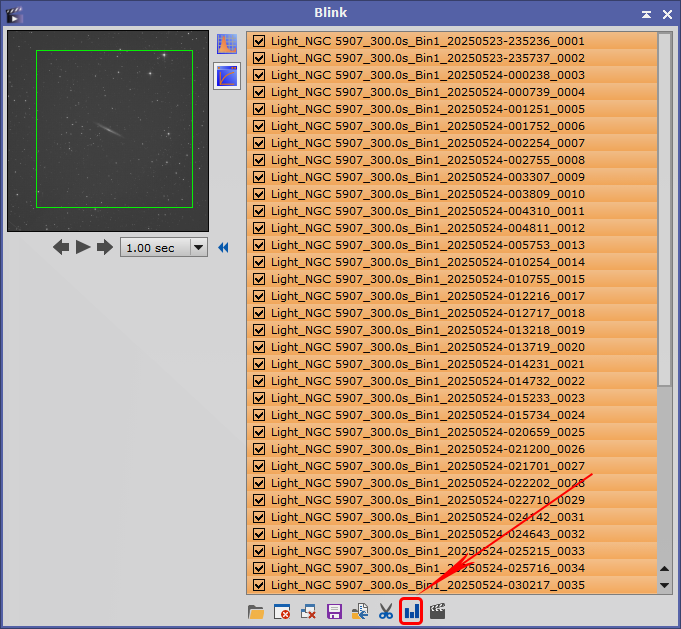
F – I can view the metadata for the image group using Series analysis report
G – I can close all images — selected or not, marked or not. If we press this button, all images will close.
Not that complicated, right???
See you soon!!!